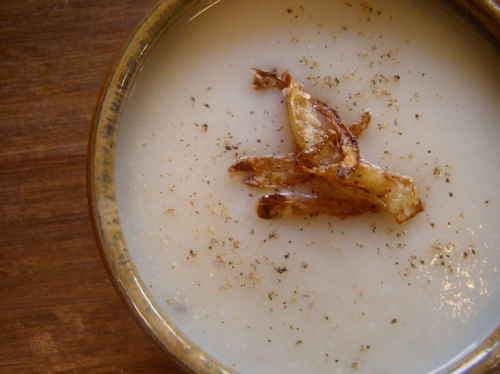
of course i just made that up. i don’t think there exists a plural for ricotta besides, well, ricotta. but this weekend in in my house there did exist ricotta prepared 3 different ways. i guess you would call it a horizontal making and tasting of cheese. i think ricotta is not considered REAL cheese, but made of a byproduct of making cheese-whey. but i’d like to think that i made cheese, since i’ve never attempted that before, so i’m callin’ it a cheese.
ricotta #1
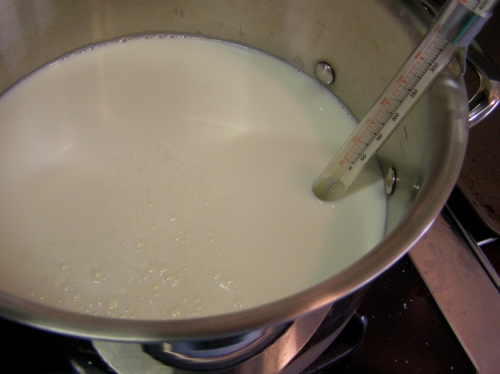
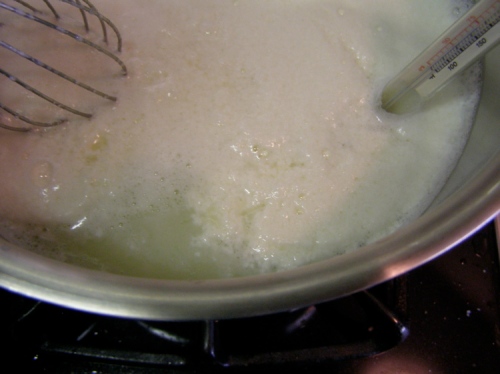
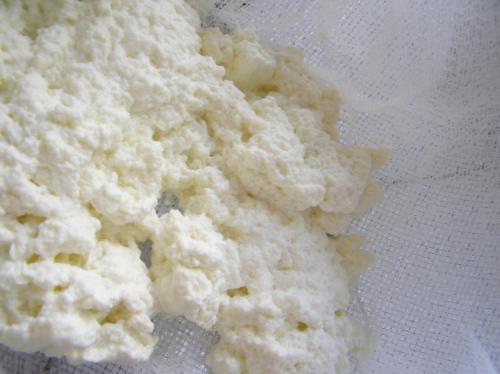
the first version was made with milk and buttermilk brought to temperature (175 degrees to be exact), captured with a deep-fry or candy thermometer. here it is first put in the pan, then as the curd came to be just at the 175 degree mark as promised.
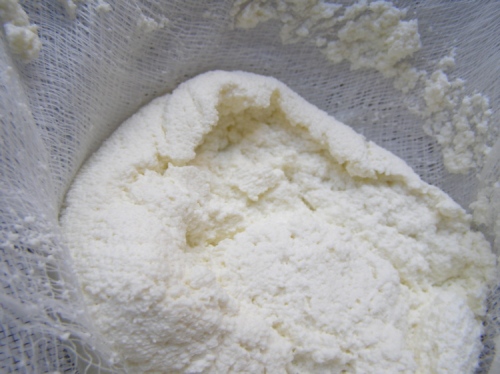
i then ladled the curds into a cheesecloth-lined fine mesh colander and allowed it to drain for 5 minutes before i checked on it. i was glad i did because the instructions said to drain it for 15 minutes or longer if you like a drier ricotta. well these curds were arid after those first few minutes. i still had some whey hanging out in the pan so added a little more back in. it was a very fine curd and i was pleased as this was my introduction into cheesemaking and it was actually edible! i put some honey on it and went to town.
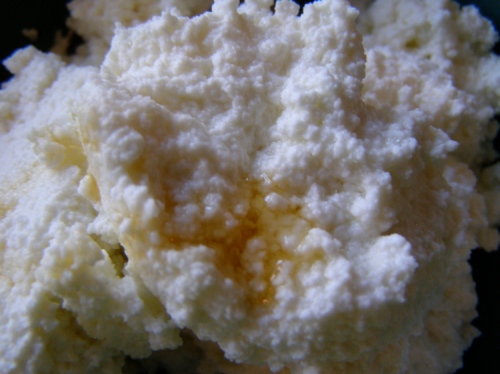
ricotta #2
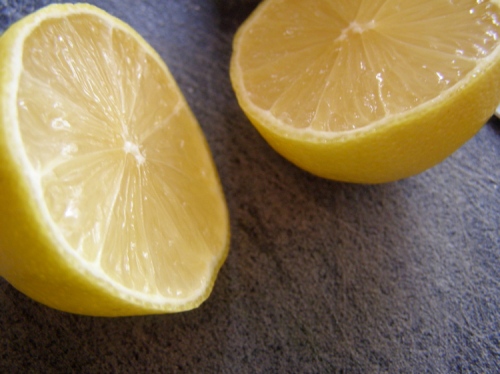
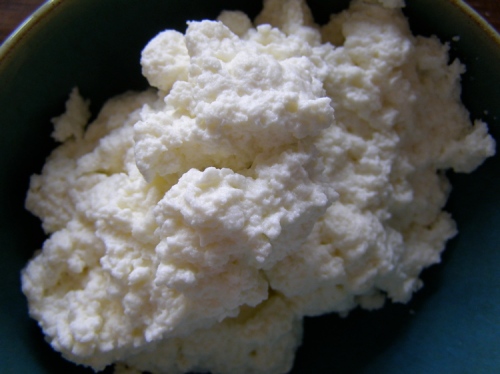
the second version required milk and cream in a pan and when that comes to rolling boil (yes a rolling boil, which seems so counter intuitive when you think of all the puddings and milk based sauces that you have spent hours of your life trying not to scorch or burn!), at that precise moment it is removed from the heat and some lemon juice is added.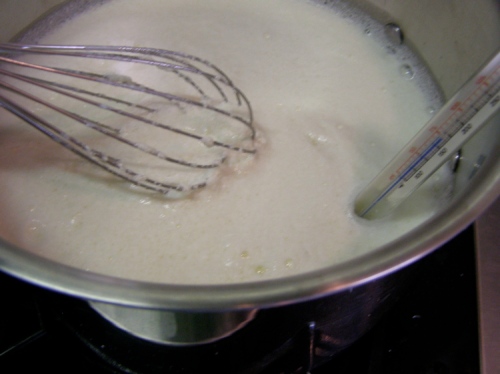
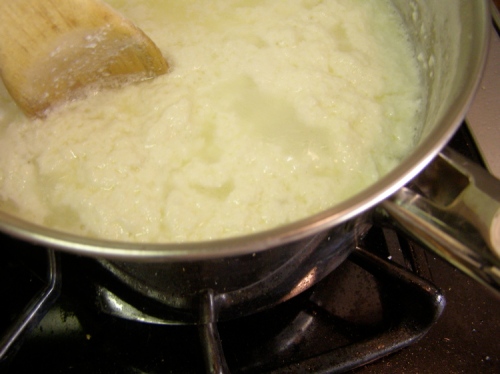
it was just like magic. these beautiful fluffy cloud-like curds appeared out of nowhere and presented themselves to me. i ladled them out into the same cheesecloth and colander set-up as before. i tend to go for the larger curd cottage cheese, too so these were definitely my kind of curds!
ricotta#3
the third and final installment in the ricotta chronicles turned out to be my favorite. i don’t know if i was getting good at this or if the method just lent itself to such ease and convenience that it really spoke to me. not that any of the ingredients to make ricotta are esoteric in any way, but i kinda like the idea that i can always make a fresh batch with only milk and regular ol’ distilled white vinegar from the pantry. all that was required was that i heat up some milk to about 180-185 degrees, add the proper amount of vinegar and stir for about a minute. this is what happened next:
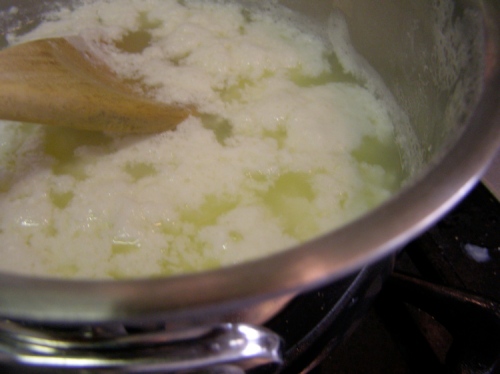
i dutifully covered it with a clean dishcloth and let it sit, off the heat and untouched, for about 2 hours.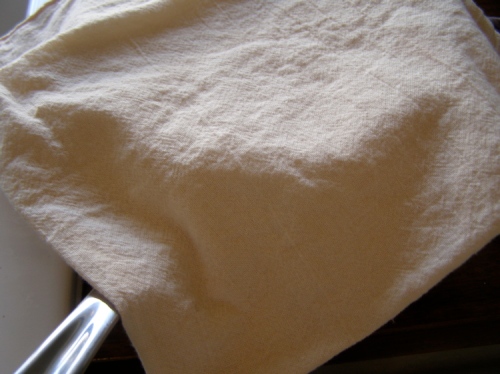
i then carefully poured the mixture over the same cheesecloth set up as before and these were left before me: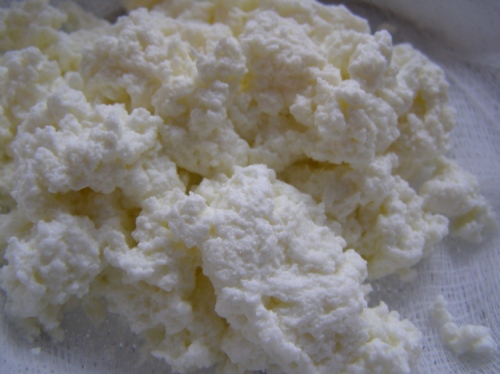
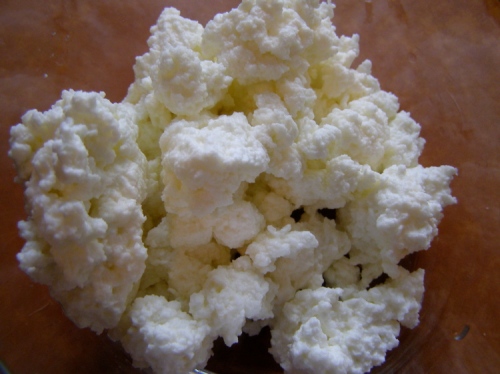
light and airy, yet moist and fat curds that danced on the tongue and tickled my mouth and I made them! now all i have to do is figure out how to use them; let’s see, gnocchi, lasagna, cheesecake!
here are the recipes in the order from above. really, no one ricotta is better than the others. it’s only a matter of what taste and consistency you prefer, not to mention ease of preparation. but they are all pretty easy to make if you ask me. remember too that you get out of it what you put into it, so use premium, fresh, and preferably organic dairy products as the taste of them will intensify and really come through in the ricotta.
ricotta #1
adapted from 101 cookbooks
1 gallon whole milk
1 quart buttermilk
combine both milks into a large nonreactive saucepan over medium high heat, preferably a thick-bottomed pan if you have one. you will need to stir occasionally, scraping the pan bottom, to avoid scorching. you will notice curds starting to rise to the surface.
line a fine sieve colander with a large piece of cheesecloth that has been folded numerous times – place the lined colander over a large bowl or sink.
when the mixture reaches about 175F degrees, you will see the curds and whey separate. the curds are the solids-the whey is the liquid. ladle the curds into the prepared sieve. allow them to drain for 15 minutes minimum. store in an airtight container for up to 5 days–it is best used as soon as possible.
makes about 4 cups.
ricotta #2
adapted from paula lambert
- 1 gallon whole milk
- 1 cup heavy cream
- 1/2 cup freshly squeezed lemon juice
- salt, optional*
prepare a sanitizing solution of 1 quart of water and 1 tablespoon of household bleach.*
rinse a large stainless steel or enameled stockpot or soup pot with the sanitizing solution and pour the milk and cream into the pot. place over medium-high heat and bring to a boil, stirring as necessary with a sanitized spoon so the milk doesn’t scorch on the bottom of the pot. reduce the heat to low and stir in the lemon juice. continue stirring slowly until the milk curdles and white curds float to the top. remove from the heat and cover. wait for 5 minutes while the curds solidify slightly and become firmer.
rinse a colander and a large piece of muslin or several layers of cheesecloth in the sanitizing solution. wring out the cloth to release the excess water. line the colander with the cloth and set the colander in the sink or over a large bowl.
using a sanitized perforated spoon, gently ladle the curds into the colander. Let the whey drain for 30 minutes, or until the ricotta is still moist but fairly dry.
after about 15 minutes, lift the edges of the cloth toward the center of the colander to loosen the cheese from the cloth and facilitate draining. if the ricotta is still too liquid and runny in texture after 30 minutes, gather the edges of the cloth together using 1 hand, wrap a piece of kitchen string around the gathered cloth to form a bag, and tie it closed. hang the bag containing the cheese from the faucet or the handle of a kitchen cabinet door and allow the excess whey to drip from the bag into the sink or a bowl.
if adding salt, transfer the ricotta to a sanitized bowl and stir in the salt. place the ricotta in an airtight container and store it in the refrigerator. use within 5 days.
makes 3 1/4 cups
*note: i did not sterilize the cheesecloth, pan or spoon in this preparation. i did not add salt so i would have the option of using the ricotta for a sweet or savory application.
ricotta #3
1 gallon whole milk
1/3 cup plus 1 teasoop distilled white vinegar
1/4 teaspoon salt*
rinse inside of a heavy-bottomed non-reactive pan with cold water. it is said that this helps prevent milk from scorching. place milk in pan over medium heat, stirring occasionally. attach a candy or deep-fry thermometer on the side of the pan. the milk will start to bubble and steam will rise from the pan. you want it to reach 180-185 degrees, near scalding temperature, just before it comes to a boil. check the temperature with your thermometer.
when it reaches the correct temperature, take the pot off the burner, add the vinegar and stir gently for only one minute. add salt, if using. you will notice curds forming immediately-cover with a dry clean dish towel and allow the mixture to sit undisturbed for a couple of hours (can be left all day while you are at work!).
when the ricotta has rested for 2 hours or more, take a a few layers of cheesecloth and place them inside a colander. gently pour the whole of the contents into the prepared colander. place the colander with ricotta inside of a larger pan or sink so it can drain freely. Let it drain for two hours or so depending on how creamy or dry you want your cheese to be. refrigerate in an airtight container. it will keep for up to 5 days. ricotta does not freeze well.
makes 4 cups
* i did not add salt so i would have the option of using the ricotta for a sweet or savory application.
